Categories
Blog

Setting up an iPad Pro with Coda and Amazon Lightsail for Coding

Some time ago I tried to set up my iPad Pro for coding. I ended up using  Coda and Amazon Lightsail. If you want to know what I was thinking, you should read: Coding on an iPad Pro.

I figured that article did a great job of explaining why I’d ever want to do something as silly as setting up an iPad Pro for Coding, but it never explained how would would go about setting up an iPad Pro with Coda or Amazon Lightsail for coding or any other reason.

Yeah, so here’s that.

Set up Lightsail. Duh.

This is assuming you’ve already got AWS set up, but not Lightsail. If you want to know how to set up AWS, click here: http://lmgtfy.com/?q=set+up+aws

Getting to Lightsail is pretty easy. It should come up under all your services, right under EC2.

On your first attempt, you probably won’t have anything set up, so I’m going to assume you need to create an instance. If you already have an instance and just need to know how to do the actual set up, you can skip ahead. However, I’d appreciate you scrolling up an down a few times to help me build up my site’s engagement numbers. ^_^

Choose and Image

I ended up going for Node.js for reasons, but you can choose whatever you want for what you need. If you’re just doing this to putz around, I’d suggest just going for an OS only instance.

The biggest gotcha is your SSH Key Pair. By default you’re going to see something that says: You are using the default SSH key pair for connecting to your instance.

This should be left alone unless you have a specific need for custom SSH keys, or again, if you already have this set up and just need to get it onto your iPad. More on that in a bit.

The rest just requires you choosing a payment plan, because this will cost you money. I’m sure you can get everything set up for pennies on the dollar just using straight up EC2, but if you knew how to do that, chances are, you already know what you’re doing. I didn’t. I’m a total hack and have no idea what I’m doing. Just don’t tell my manager or whoever cuts my pay check.

Keys. The pain after the easy part.

If you’ve skipped the set up from before, this is where you should start reading.

This is the part that caused me the biggest grief, because I started the whole process on my iPad. However, getting the keys set up on your iPad requires a file system, and Apple says you can’t be trusted with that sort of thing. We know what a coder can do with a file system, so don’t act all innocent.

Chances are you’ve gotten to this point, and clicked on the little terminal icon to ssh via your browser. But that’s not what we’re here for. You need to set up your iPad.

What Coda needs to connect is an actual public key file. In this case, a .pem file. This is something you can easily download via a desktop browser, but is annoying to transfer over to your iPad.

But we’re hackers. We eat annoying problems and crap solutions!

First things first, on your desktop, download your .pem file. You’ll find it in your accounts page, under SSH Keys.

Going Old School. Transfer via iTunes

This was the annoying bit. I tried using iCloud, AirDrop, even Dropbox. Completely forgot that in the beforefore times, we’d transfer files through a friggin’ wire!

When your iPad is connected through iTunes, look for File Sharing, as of iTunes version 12.7.2, and look for Coda in the list of apps.

You just need to drag the .pem file from your computer’s file system (assuming you’re using a Mac to do this. I suppose Windows also lets you drag and drop, but I haven’t used iTunes on Windows in forever),

It may not seem obvious, but click “Done” when you’re done.

Set up keys in Coda

If you’re with me to this point, your keys should now be on Coda. I’m going to assume you’re setting up a new site in Coda, but if not, it shouldn’t be different to add new keys to an existing site.

From the Settings (little gear thing on top of the main screen of Coda), click Keys.

You’re gonna click the + Icon near the top, and you’ll see a list of ways of importing your key. You should click on Import from Itunes.

If you successfully transferred over the key through iTunes, it should pop up like the image below. If it doesn’t show up, try transferring the file again.

Add Keys to your Site in Coda

I’m going to continue assuming you don’t have an actual site set up in Coda. If you already do, the steps aren’t much different. Just edit the site instead of adding a new one.

Whether it’s a new site, or an existing one, you can click on the little terminal icon to get to your site’s terminal set up.

Click on the little Key icon next to password. The password field is just for passwords, but loading in a key will make it use those credentials and not bug you for a password.

You’ll get a menu that lets you choose your keys. The key you imported before should show up here.

Connect to Lightsale. On an iPad.

We’re in the home stretch now. When you’re in your site, you should now see an option for getting to the terminal.

Assuming your credentials are all set, you’ll get a prompt to add the host to your keys. Obviously you should accept this.

If everything works out, you’ll see a lovely prompt on your iPad.

Keep on hacking!

Categories
Blog

Coding on an iPad Pro

So, I have an iPad Pro. And I want to use it for coding.

I use it mostly to do artwork (I also have an art blog) and quite recently I picked up a keyboard so I can do some writing. Mostly working on comic scripts, because I like to think I’m man of many talents, but mostly to silence the voices in my head.

It got me to thinking, if I have an iPad Pro, and I have a keyboard. Why can’t I use this combination to write code?

(If you want step by step instructions, read my actual instructions for Setting up an iPad Pro with Coda and Amazon Lightsail for Coding)

Some time ago, I had dabbled in some coding on my iPhone (and Android before I switched over to iOS because of reasons) and remembered a few apps that were essentially interactive shells, but nothing useful for writing “production” code. This was some time ago, so I had hoped there’d be some new development (pun not intended?) in using tablets and mobile devices for coding.

Not an Ad. I’m just linking to things that I’ve used to support the developers.

Sad to say, there wasn’t much on the iOS side that was useful. There were a few apps, like VIM for iOS and JSAnywhere that were kinda nifty, but again, still siloed and not really useful. Overall, the biggest players, in my opinion, were CodeAnywhere and Coda. I’m sure I could write some serious articles about both of them, and I probably will in the near future, but ultimately I found Coda to be the most useful for my purposes.

Coda VS Code Anywhere

Long story short, a lot coding that I do outside of my “day job” ranges from basic webmaster stuff like “My WordPress Site” or “custom HTML thingie my nephew wrote” doesn’t work to prototype a React/Redux thingie for fun. CodeAnywhere and Coda worked great for the former, not as great for the latter, at least not immediately out of the box.

I had been using CodeAnywhere for some time for one specific client, as she required simple html changes from time to time. CodeAnywhere let me set up a simple ftp connection to her site and I could jump in from anywhere to make changes. In one case, over my iPhone, while I was commuting into my day job.

The specifics are beyond this article, but simply put, if I had my physical keyboard connected, the software keyboard for CodeAnywhere would push the code up and off-screen, where I couldn’t see what I was coding. No bueno CodeAnywhere.

So where am I going with this?

I started digging around (links at the end) for other people’s experiences with trying to set up an iPad Pro for coding, and came to the conclusion that an I’d be better off treating the iPad Pro as s thin client rather than a dev machine. This approach would actually be ideal, because I wouldn’t have to worry about code syncing or machine performance, since everything would work through SSH. The downside would be that I’d be required to have an internet connection.

Sticking with CodeAnywhere, I realized that their service was kind of doing the same thing, and maybe I could try using ssh to connect to my CodeAnywhere remote box. This worked, but the trouble was that I was using the “Free” version and the machine would go offline. While that doesn’t sound like a deal breaker, I found that I had to log into CodeAnywhere via a desktop browser to wake up the virtual machine. Kind of annoying and counter productive if I was traveling with only my iPad Pro.

By this point, I had the same revelation that you might have had: Why not Amazon?

Amazon

Seriously. This is not an ad.

While I was reading up about EC2 and other Amazon Services, I had also started reading more about Coda for iOS. I had considered using Coda as a desktop IDE for OSX back years ago, but I ended up going down the TextMate route instead. That’s a story for another day, but I always kind of kept my eye on Coda over the years and was intrigued at how it progressed on iOS.

Screenshot stolen from Panic, Coda’s manufacturer.

I decided to bite the bullet and pick up a copy of it, and try to set up EC2. For me, the difficulty wasn’t setting up Coda, but ultimately EC2 itself. There was just too many options and it was kind of overwhelming. However, all my furious googling for EC2 instructions lead me towards Lightsail, a new product (as of this writing) from Amazon.

Light at the end of the tunnel

If I had to describe Lightsail, I’d say it’s EC2 for newbs. I had a simple node server set up in under a half hour, that I was able to ssh in from a browser in no time. Setting it up via iTerm2 was just as easy.

The hard part, was the iPad.

The biggest hurdle for me was getting my public key onto the iPad, since of course, Amazon expects you to be using a desktop computer, with a file system. A this point, I’m sure all of you Android fanboys are rolling your eyes at me, but whatever.

Getting the key set up with Coda was troublesome, but ultimately I got it working by copying the .pem file over to my iPad Pro via iTunes. I hated myself for doing it this way, but it worked, and yeah, I now have an iPad Pro that I can do actual code on.

Now, onto getting Git set up…

Step by step Instructions: Setting up an iPad Pro with Coda and Amazon Lightsail

More Reading:

Categories
Blog

Doing Lines – Why CSS and Underlines make me angry

For the past few weeks, my day job has been going through a bit of a redesign. As part of that, I’ve been asked by our design team to implement new headlines we’ve taken to calling “splashes”. And our design looked something like this:

I thought this looked pretty cool, and thought to myself, hey, CSS has come a long way, what could be so hard?

What in the hell were we thinking?

Our plan was seemed simple:
  • Change the text underline cover on hover
  • Allow text to reflow
  • Make text act like a block element
  • Be consistent experience across browsers
To me, the first and obvious choice was to try the text-decoration-color CSS property, naturally. Simple, one line fix and boom, it looked great on chrome!
Job well done. Time to get some coffee.
No, not really. Apparently, as of the time of this writing, support is limited on other browsers. Specifically, most of them. In most cases, the text color is ignored so my underline looked basically the same color as the font. In other cases, the under color changed, but it was pencil thin and wouldn’t change with font size.
Overall, I was bumbed. Crestfallen. A disgrace to my dojo.

What other options were there?

Well, so I did some Googling, and consulted with my team. Obviously the idea of border bottom came up, which had its own set of janky issues with what we were trying to pull off.
Some possible solution a very hacky layering…hack. In this case, I would render the block of text without the underline, and layer that over text with the underline in the hover color. The idea being, to toggle the two on mouse over. To get this one right, would have required some more hacky stuff from the JS side, which would have been surgery with a shotgun as far as I was concerned.
I found some cool articles from Medium written by some people who experienced the same issues and came up with a diverse set of solutions, which lead me to some experiments with linear gradients.

What worked?

In the end, I found something less hacky that made me feel warm and fuzzy: a linear gradient as a background image.
Something like this:
 
Using a linear gradient helped us scale the text better, proportional to our font size and was pretty easy to implement. Also, it worked on all browsers we cared about, which was a win in our book.
There were some caveats, in that the text’s underline, which remember is a background image, had some weird alignment issues. Remember, as our text was a block level element, the gradient underline would clip to the bottom of the entire block element, which was annoying.
To fix this, I had to add displayinline; property to the text, which was a property I had never really heard of at the time.
You live and you learn I guess!
Codepen experiment:
Read more:
Categories
Blog

AMP Conf Day 1 – E-Commerce

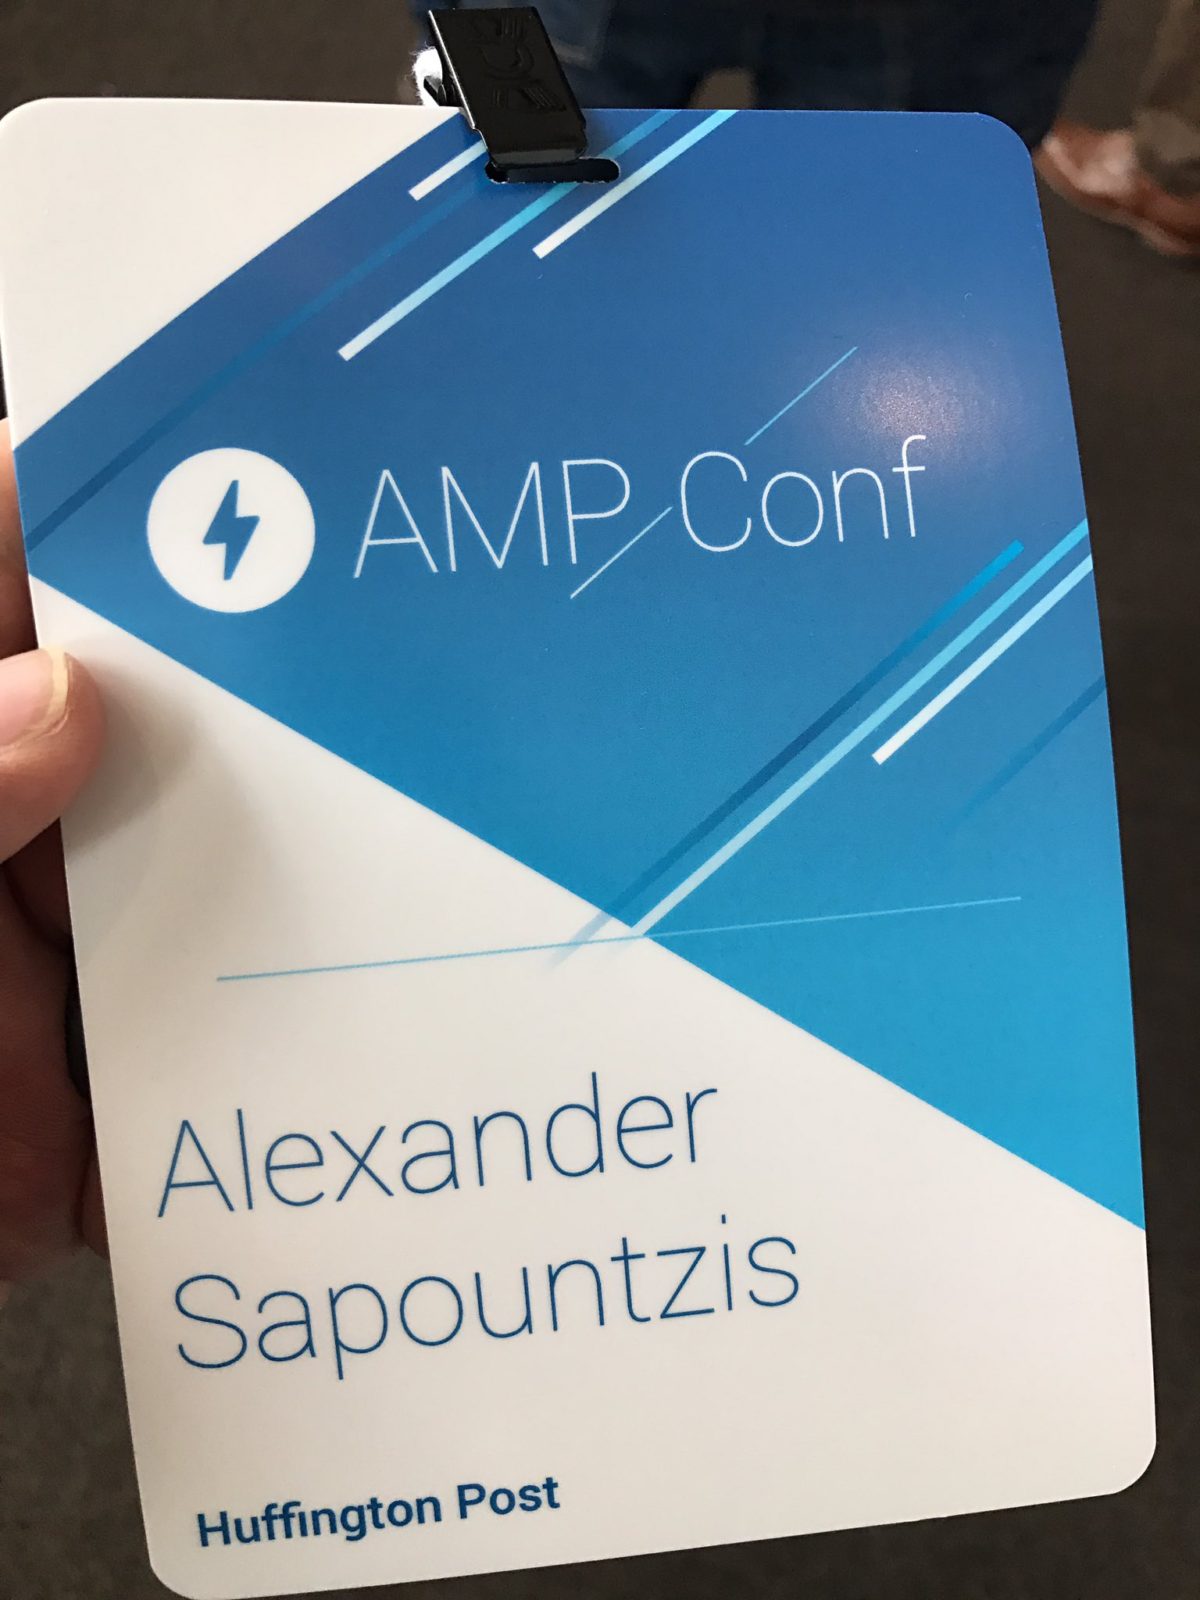
This week marked the first day of the first AMP Conf, a two day conference on the AMP platform. AMP is Google’s answer to Facebook Instant Articles and Apple News. I was fortunate enough to be able to attend both days, and I had a vested interest as I’m a contributor, and I put together the AMP Implementation for the Huffington Post.

There was a lot to take in over the course of the conference, but my biggest takeaways would have to be:

  • AMP isn’t just for news sites, as there’s a big push towards e-commerce
  • Even though custom JS is prohibited, you can still do some really interesting, interactive things with AMP
  • Google wants to spread the responsibility but probably not that much

E-Commerce

My biggest WTF of the conference came not just from the unorthodox AMP projects I saw on display, but on what people outside of my industry (publishing and media) were doing with AMP. Particularly, E-commerce.

When first starting AMP, it never occurred to me what I would use this technology for if I was working on E-commerce. Several companies, like eBay, EventBrite, Wego and even Pinterest are using AMP for more than just lead generation for their platforms, but treating AMP as extensions of their brand and platforms.

Starting from landing pages, many of these companies followed the example of getting eyeballs on their pages through AMP. Each company set up these entry pages as ways of funneling users through their existing checkout or conversion process, while in many ways leveraging AMP to make it faster.

eBay

This group had an interesting approach to AMP, in that they wanted to treat the stack as a series of “best practices” in creating pages, rather than a separate stack. This lead to them integrating AMP into their regular dev cycle and team, rather than setting up a separate AMP team.


By treating AMP as HTML, they were able to selectively swap out AMP and HTML on a component level when rendering, similar to an approach we took at Huff Post.

On the other hand, Analytics proved to be the bigger challenge, as they started early on, before the amp-analytics tag was fully fleshed out.  By figuring out away to compare session info with cookies, they were able to get a better understanding of their visitors, although they had to deal with some false positives.

Pinterest

Though not exactly an e-commerce platform, I’m kind of grouping them in this category, since their process is more akin to a shopping experience rather than news and media consumption. At the end of the day, they’re focused on having people engage in a platform that “collects” things.

As in other examples, their goal was to speed up the time from searching for a “thing” and getting people to engage with their core products. To that end, they focused on making a great impression on New users over returning users. This makes some sense, in that if you’re already signed up, you might not need to worry about waiting a few extra seconds for the service to load up.

By serving AMP pages to non-authenticated users, they were able to entice new users and funnel them along their path towards using the site, and eventually registering. These AMP pages were designed with larger images but of one single item, as opposed to groups to keep users focused.

Like eBay and others in this group, Analytics proved to be the biggest issue, requiring that they leverage their existing server side metrics with AMP’s analytics package. A/B Testing offered similar challenges but the opposite solution, as they had to move this code from the server side to client side. By linking AMP Client IDs with session cookies, they were able to make analytics work for them.

Wego

This was by far one of the more interesting talks, in that their focus was targeted on such a wide range of platforms. Working in Middle Eastern, Indian and South East Asian markets, their customer base spanned 52 countries, 38 languages, and both high end and low end devices and connection speeds.

If anyone needed something like AMP, it would be them. As a travel vendor, their customers are frequently looking for the fastest and cheapest air fare in the Asian market, and 70% of them are on their mobiles.


By converting their existing landing pages to AMP, they got more eyeballs on their travel rates, and then could funnel this traffic to air fare partners and checkout. By using a Progressive Web AMP (PWA) as part of the checkout process, they were able to decrease load times to about a second an a half from 9 for new users.

In terms of challenges, they were unable to use Autocomplete for airport lookups or that AMP didn’t have a calendar plugin that wold work for them, as most of their customer base did not use a Gregorian Calendar. Something that I hadn’t considered or even knew if AMP supported that natively.

 Event Brite

In the same vein as Pinterest, Event Brite isn’t exactly a traditional e-commerce company, but they’re more like an eBay than Pinterest.

Like the others, they decided to only AMPlify some of their content, particularly landing pages. In this case, events set up by organizers so that people can buy tickets faster. In their case, they limited their roll out to around 50% of their audience at the time of the conference, and still haven’t figured out every one of their challenges, such as bookmarking ticket pages, since all AMP is cached by Google and has their own url.

Using Python and SCSS, they were able to selectively limit what exactly gets rendered onto AMP, keeping within the guidelines for CSS size and conforming to AMP standards. They also did some interesting things using SCSS for loops to generate their grid, which was amazing.

In cases where AMP didn’t do what they wanted, they worked within the AMP community to suggest and implement new features, such as allowing for scrollable lightboxes!

They were even able to implement ReCaptcha using an amp-iframe!

More to come

Though this conference was only two days, there was a week’s worth of information to process. To that end, I’ll be splitting this post up over a few posts to keep things easy to digest.

TLDR

E-Commerce companies can use AMP to speed up search to landing pages to improve user experience and conversions. While each solution is unique, you can use AMP for rendering landing pages “right out of the box” but analytics is still a work in progress and requires some hacking.

Categories
Blog

Customizing the Custom Loop – Wordcamp NYC 2012

So this past weekend was my first Wordcamp.  Thanks again for everyone who attended.

As a recap, I’d like to compile all the information Jeff and I went over into one central location, for easy review.

Defining the problem

So, like many people first staring with WordPress, you’ve probably made it through the five minute install, and then look at your screen and think, “now what?”

WordPress is great in that it gives you 90% of what you need to create a fully manageable site, but for that 10 % more, you need to do some work if you want to do something custom.

In our example from Wordcamp, we ended up creating a Super Hero Gazette, showcasing upcoming super hero movies.  To that end, we created some interesting features.

  • Featured Post sections
  • Branded Category Boxes
  • Alex’s Reviews (the most trusted name in comics)
  • Picture of the Day
  • Publisher Breakdown
Each of these sections taps into built in WordPress functionality, but gives it a little nudge;the Global Query
  • The Global Query
  • Tools of the Trade
  • Performance
  • Try it at home

Customizing the custom loop wordcamp 2012
Get the code and theme:
https://github.com/jmarx/Wordcamp-NYC-2012
Categories
Blog

Building a Cake

For the two weeks or so, I’ve been dabbling with CakePHP, which has been something of a painful experience.  My pain comes from meshing my PHP experience into a Rails frame of mind, which is essentially what CakePHP is.  PHP on Rails if you’d like, though, it doesn’t do all of what I’ve come to expect from rails.

Migrations are something I miss, though I’ve been seeing some progress on that front on GitHub.

Another thing I’m having trouble getting my head around is that I’m using PHP to write Rails-ish concepts and code, which is weird. Normally I don’t have this problem with context switching, but I find my Ruby brain being overpowered by my PHP brain.

Like Rails, it works best to define a default database config file, and Cake does this for you in the config directory, where you get a database.php.default, instead of the database.yml file in Rails.

Again, it’s these little things that get you.  From what I’ve seen, you can make CakePHP more Rails-like, but the way I see it, if you need to write Rails or Ruby, use Ruby on Rails.

CakePHP is a great product, despite some of the gripes I’ve seen.  If you want to do some rapid prototyping, but need to use PHP, such as if you’re a PHP shop, or that’s your strongest language, go bake a cake.

Here are some useful links to get you started:

http://book.cakephp.org/2.0/en/tutorials-and-examples/blog/part-two.html

http://net.tutsplus.com/tutorials/php/getting-started-with-cakephp/

Categories
Blog

Places It’s Tempting To Use Display: None; But Don’t

This is a rather interesting article about how the display:none css property may not be the best solution, especially when you consider web accessibility and screen readers.

Places It’s Tempting To Use Display: None; But Don’t | CSS-Tricks.

Categories
Blog

Error establishing database connection WordPress on Mac OSX Lion

I’ve recently gotten my hands on a new-ish iMac with a freshly installed copy of Lion (as opposed to my 6+ year old macbook which has seen so many versions of the kitty branded OS, it now LoLz all the time) and found that setting up a local WordPress Multisite dev environment to be somewhat tricky.

Out of the box, Lion comes with all the goodies you need to run a php/MySQL project, but nothing is ever in the right place.

Case in point, enabling apache is as simple as going to System Preferences > Sharing > Web Sharing, and Boom, you have a local web server running.  Just go to http://localhost/ and you should see the traditional apache “It Works!” message.

A simple change to your http.conf is all you need to get PHP set up, provided you can find it. Any Apache guru will tell you it varies from system to system, and OSX lion is no exception.

For those not in the know, it’s at /etc/apache2

After setting that part up, I had many issues with permissions, but this may not affect you, as I was working in a high security environment, and the image was totally locked down.  You don’t want to know what I had to do to get local admin rights.

Once I had apache and php set up, MySQL was pretty straight forward. Just go to MySQL’s download page and get the DMG. Setting up was a breeze, so I should have realized something went wrong.

I went ahead to start the WordPress 5 Minute Install and got stuck on the config.

No matter what I did, I kept getting this odd error message in my log files:

“Error establishing a database connection”

…and…

Can’t connect to local MySQL server through socket ‘/var/mysql/mysql.sock

I searched the interwebs for various articles, thankful I wasn’t the only one to get caught up by this issue.  The good folks over at foolswisdom.com had a really good article about this database connection issue.

In short, the php.ini file was looking for mysql.sock in /var/mysql/mysql.sock, but the file itself was installed under /tmp/mysql.sock

A quick change to the php.ini file and I was all set.

Related Articles

http://smartwebdeveloper.com/mac/httpd-conf-location-mac

http://foolswisdom.com/mac-wordpress-error-establishing-a-database-connection/

http://support.apple.com/kb/ts1999

http://www.mysql.com/downloads/mysql/

http://www.perfectline.ee/blog/how-to-setup-apache-and-php-on-mac-os-x-snow-leopard

http://akrabat.com/php/setting-up-php-mysql-on-os-x-10-7-lion/

Categories
Blog

Back to basics

So I’ve been working on some WordPress goodness for an unnamed multinational for some time and have been realizing that my own work has been rather embarrassing.

Categories
Blog

Pages Tutorial for WordPress

Pages tend to get overlooked by bloggers, who focus more on posts and updates overall.  To help those new to blogging, I’ve come up with a simple tutorial on how pages work in WordPress.

Enjoy!